TBeam Supreme EDC
TBeam Supreme Build
Not long after working with the RAK boards I thought I would try out the tbeam. I had heard good things about it and wanted to really see what all of the hype was about. The original case that I found was a bit clunky and wasn’t overly well. So I threw it in a case just to hang out for a while and even then it really ended up in a drawer… Until now! I was thinking about our annual sales conference coming up and the Meshtastic network we would like to build again. I just happened to search again for a case that would work for this tbeam thinking I would carry it around and stumbled on the TBeam Supreme 3D printable cas from Alley Cat and after looking closer at it seemed to be solid. When I printed it, I can confirm it is solid, easy to print and easy to assemble. While I know there are tons of options out there this case has certainly made me a believer in the tbeam again.
Here is the parts list that I used:
TBeam: Lilygo TBeam Supreme
Batteries: Generic 18650 Batteries
Antenna: Amazon Lora 915 Antenna
Misc Screws and Nuts: 2 M3 nuts and 2 M3x8 bolts Local Hardware Store; I used Theisens as they have bulk
The base kit comes with the board, and antenna. I opted to add a different antenna. The stock antenna is not overly good according to the NanoVNA, but I find that the generic antenna from Amazon is spot on when it comes to the 915 mhz Lora that Meshtastic uses.
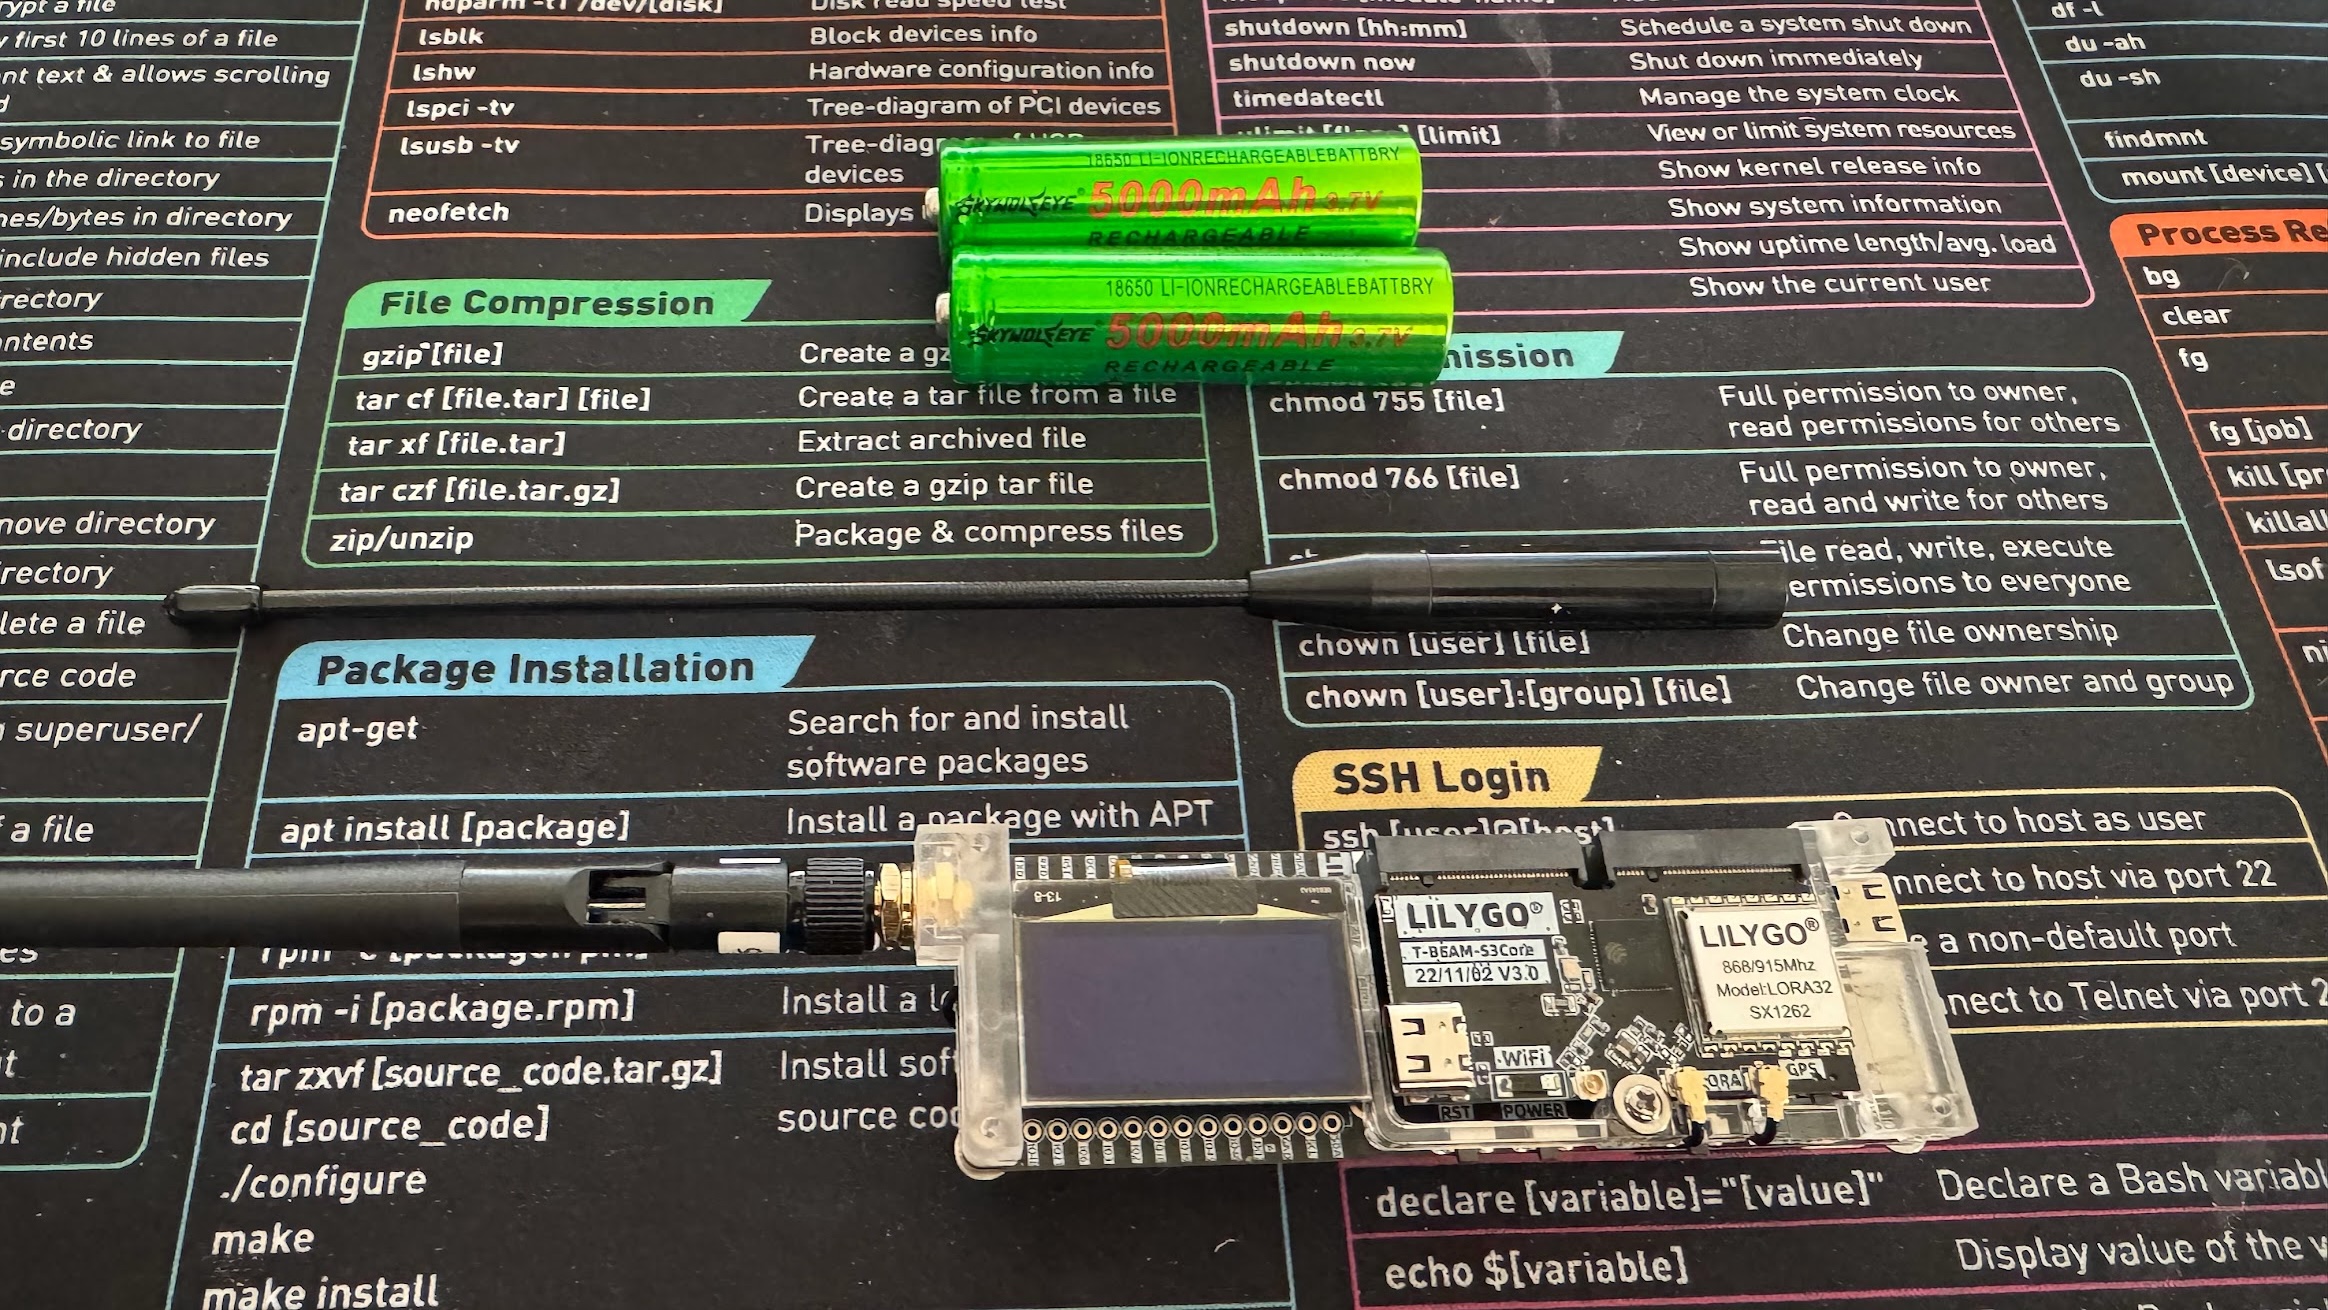
When printing the case I had to use the 13mm with nuts STL file to allow for the size of the Amazon antenna. Hats off to the creator for having multiple options for different antenna types without needing to import the STL and modify it yourself!
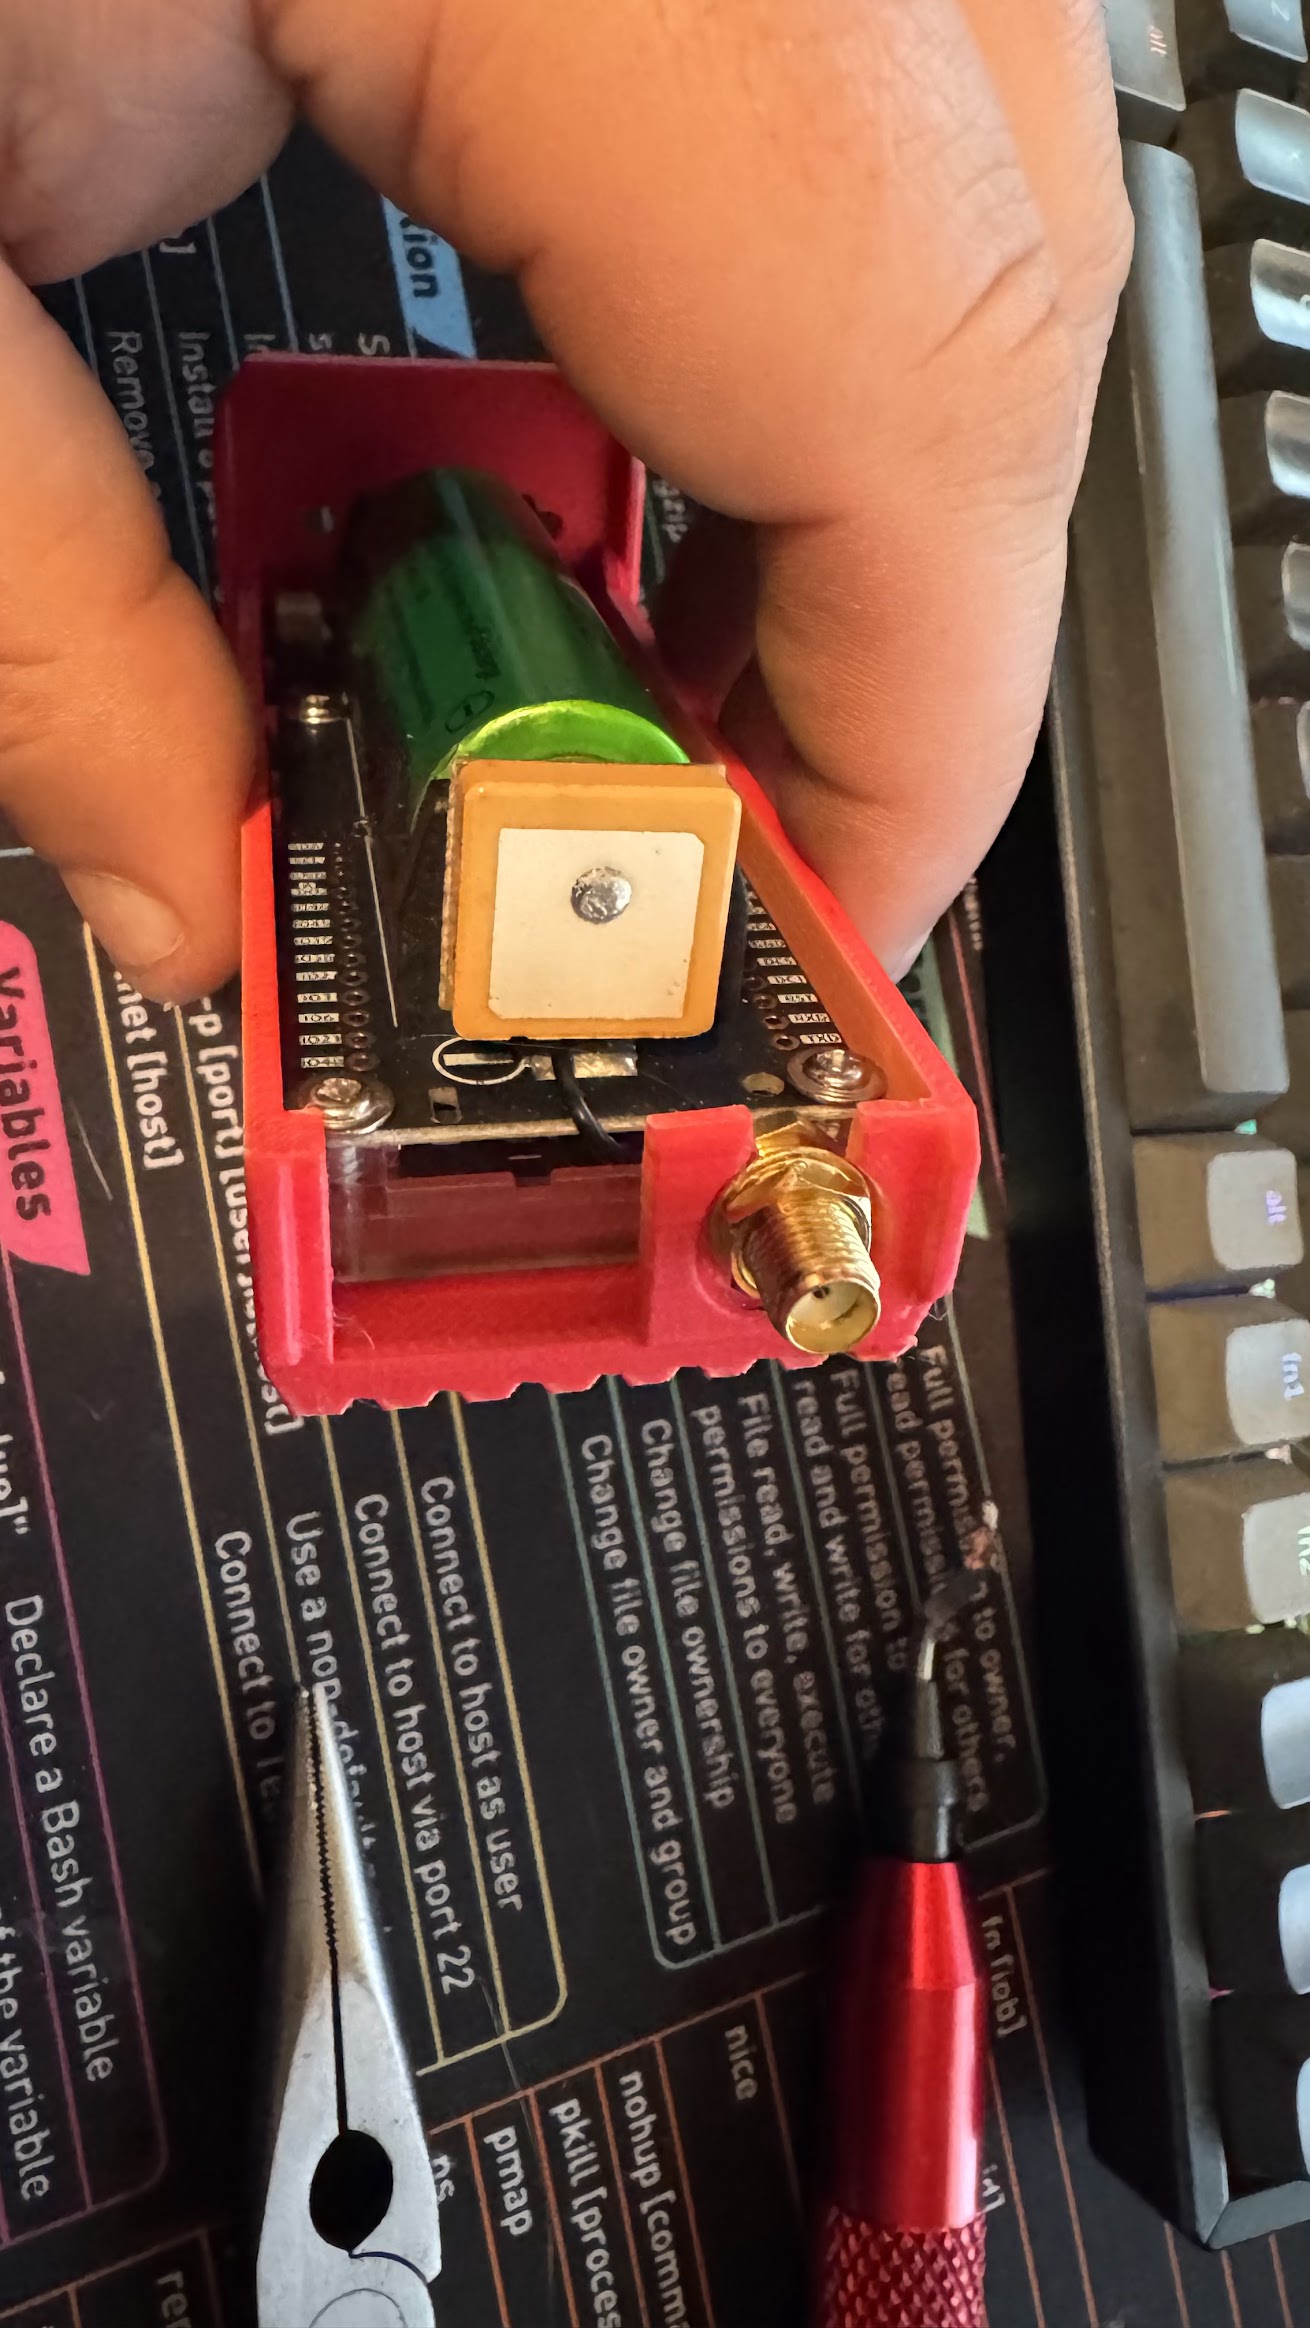
Assembling the tbeam into the case is really straight forward and doesn’t require anything to be modified from the frame of the board. The only thing I ended up having to do is move the GPS module (which is held in by double sided tape). I found that not putting the antenna on while putting the two halves of the case together

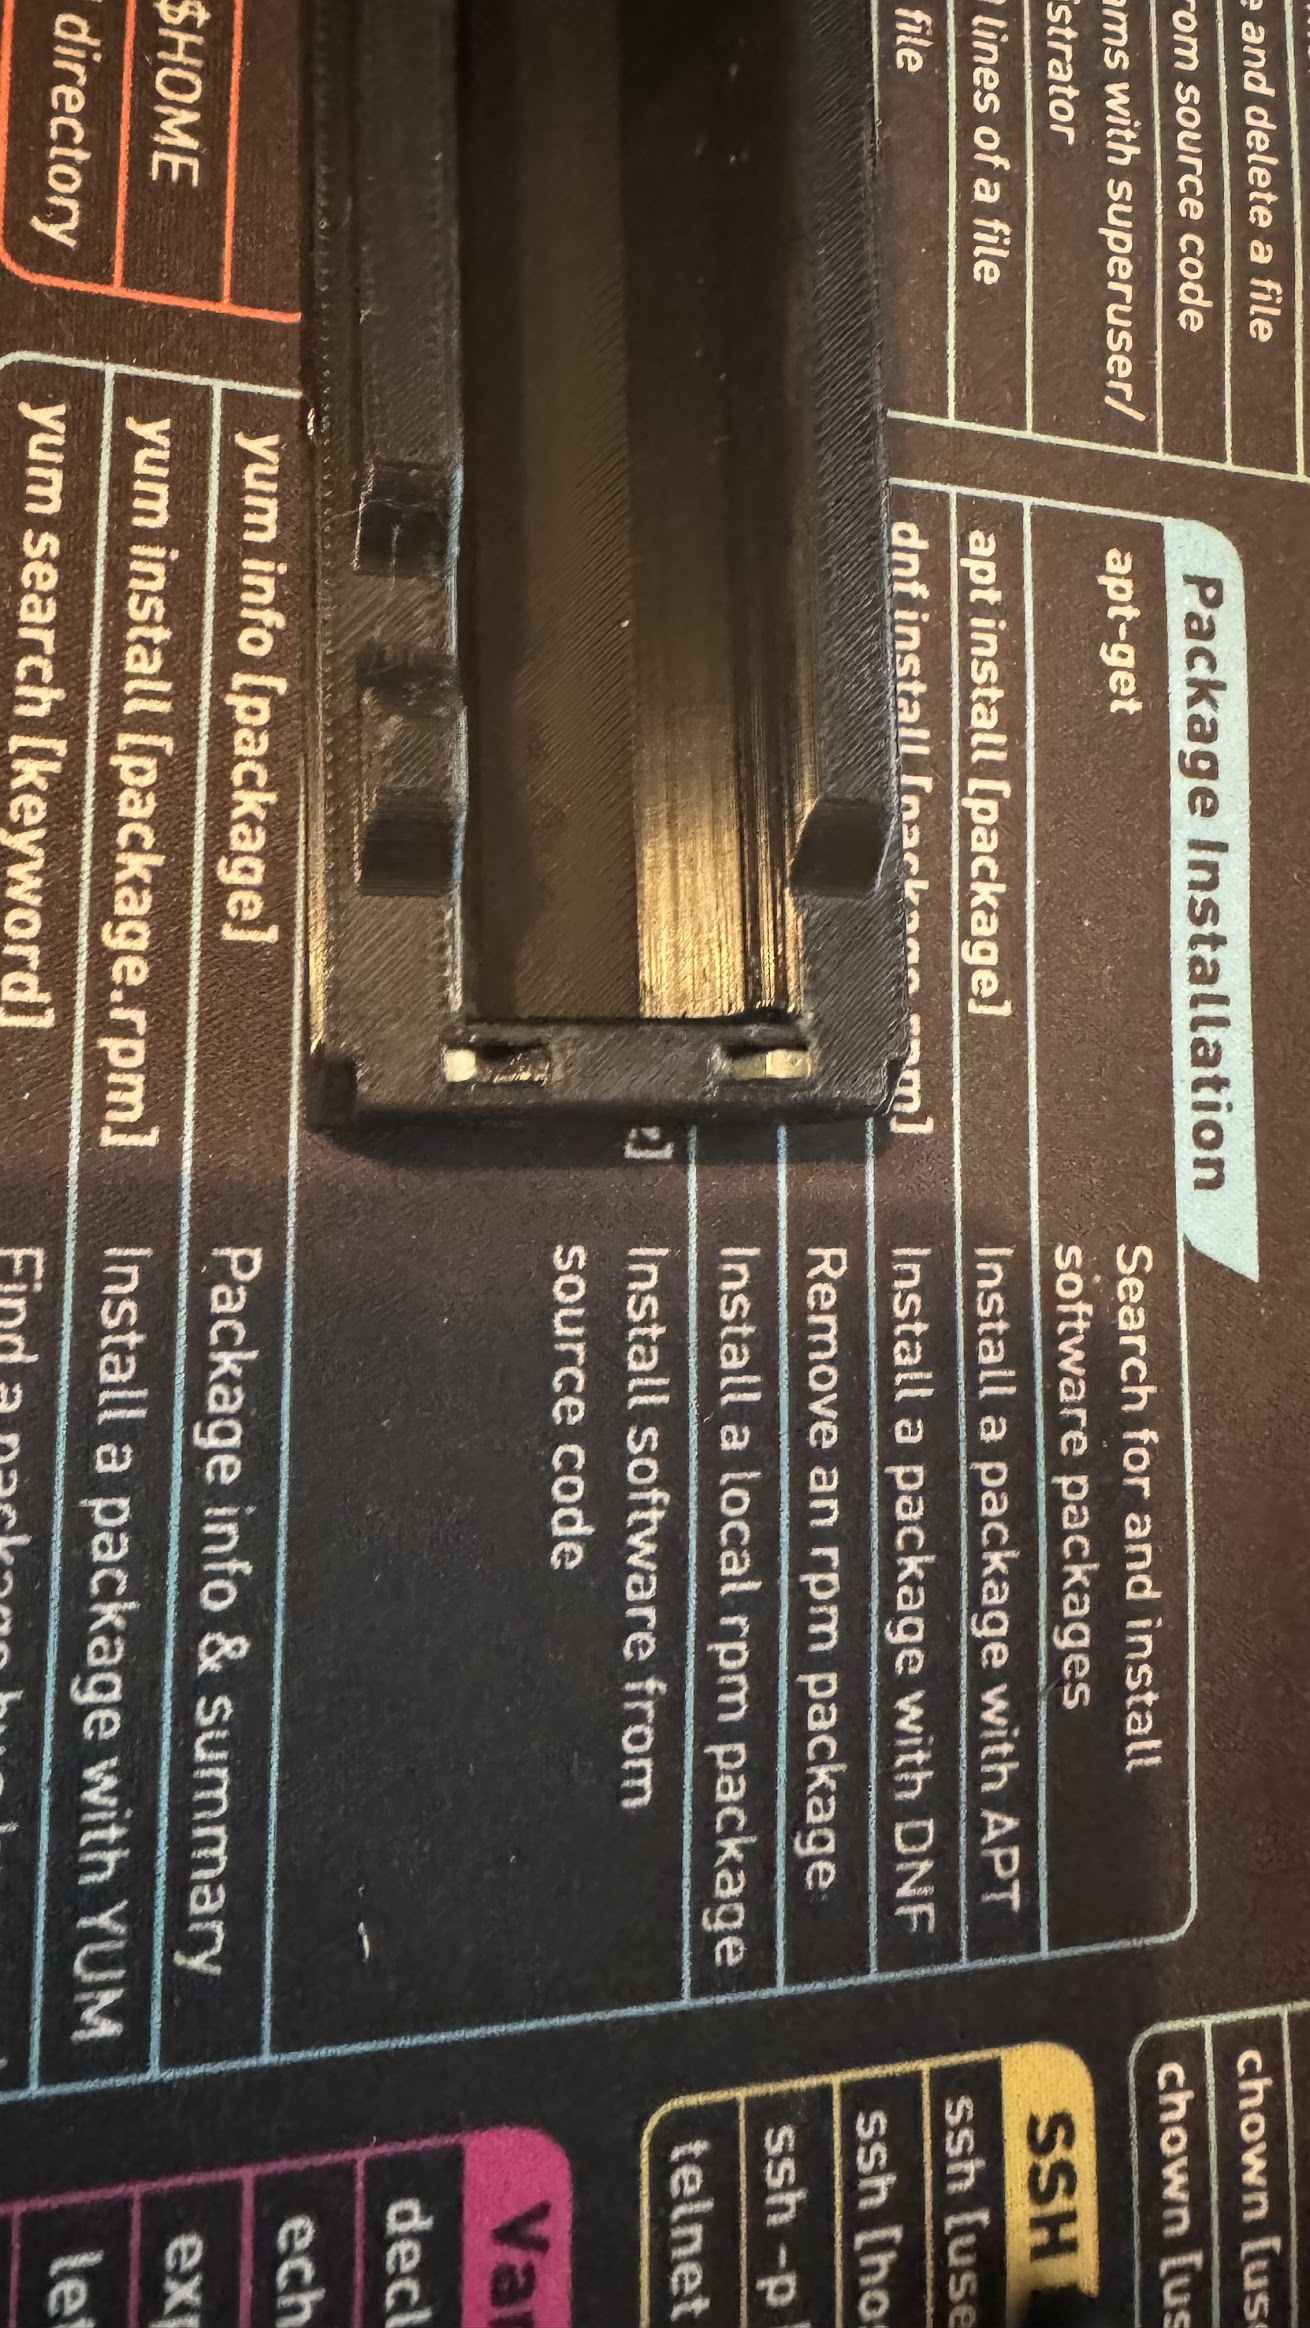
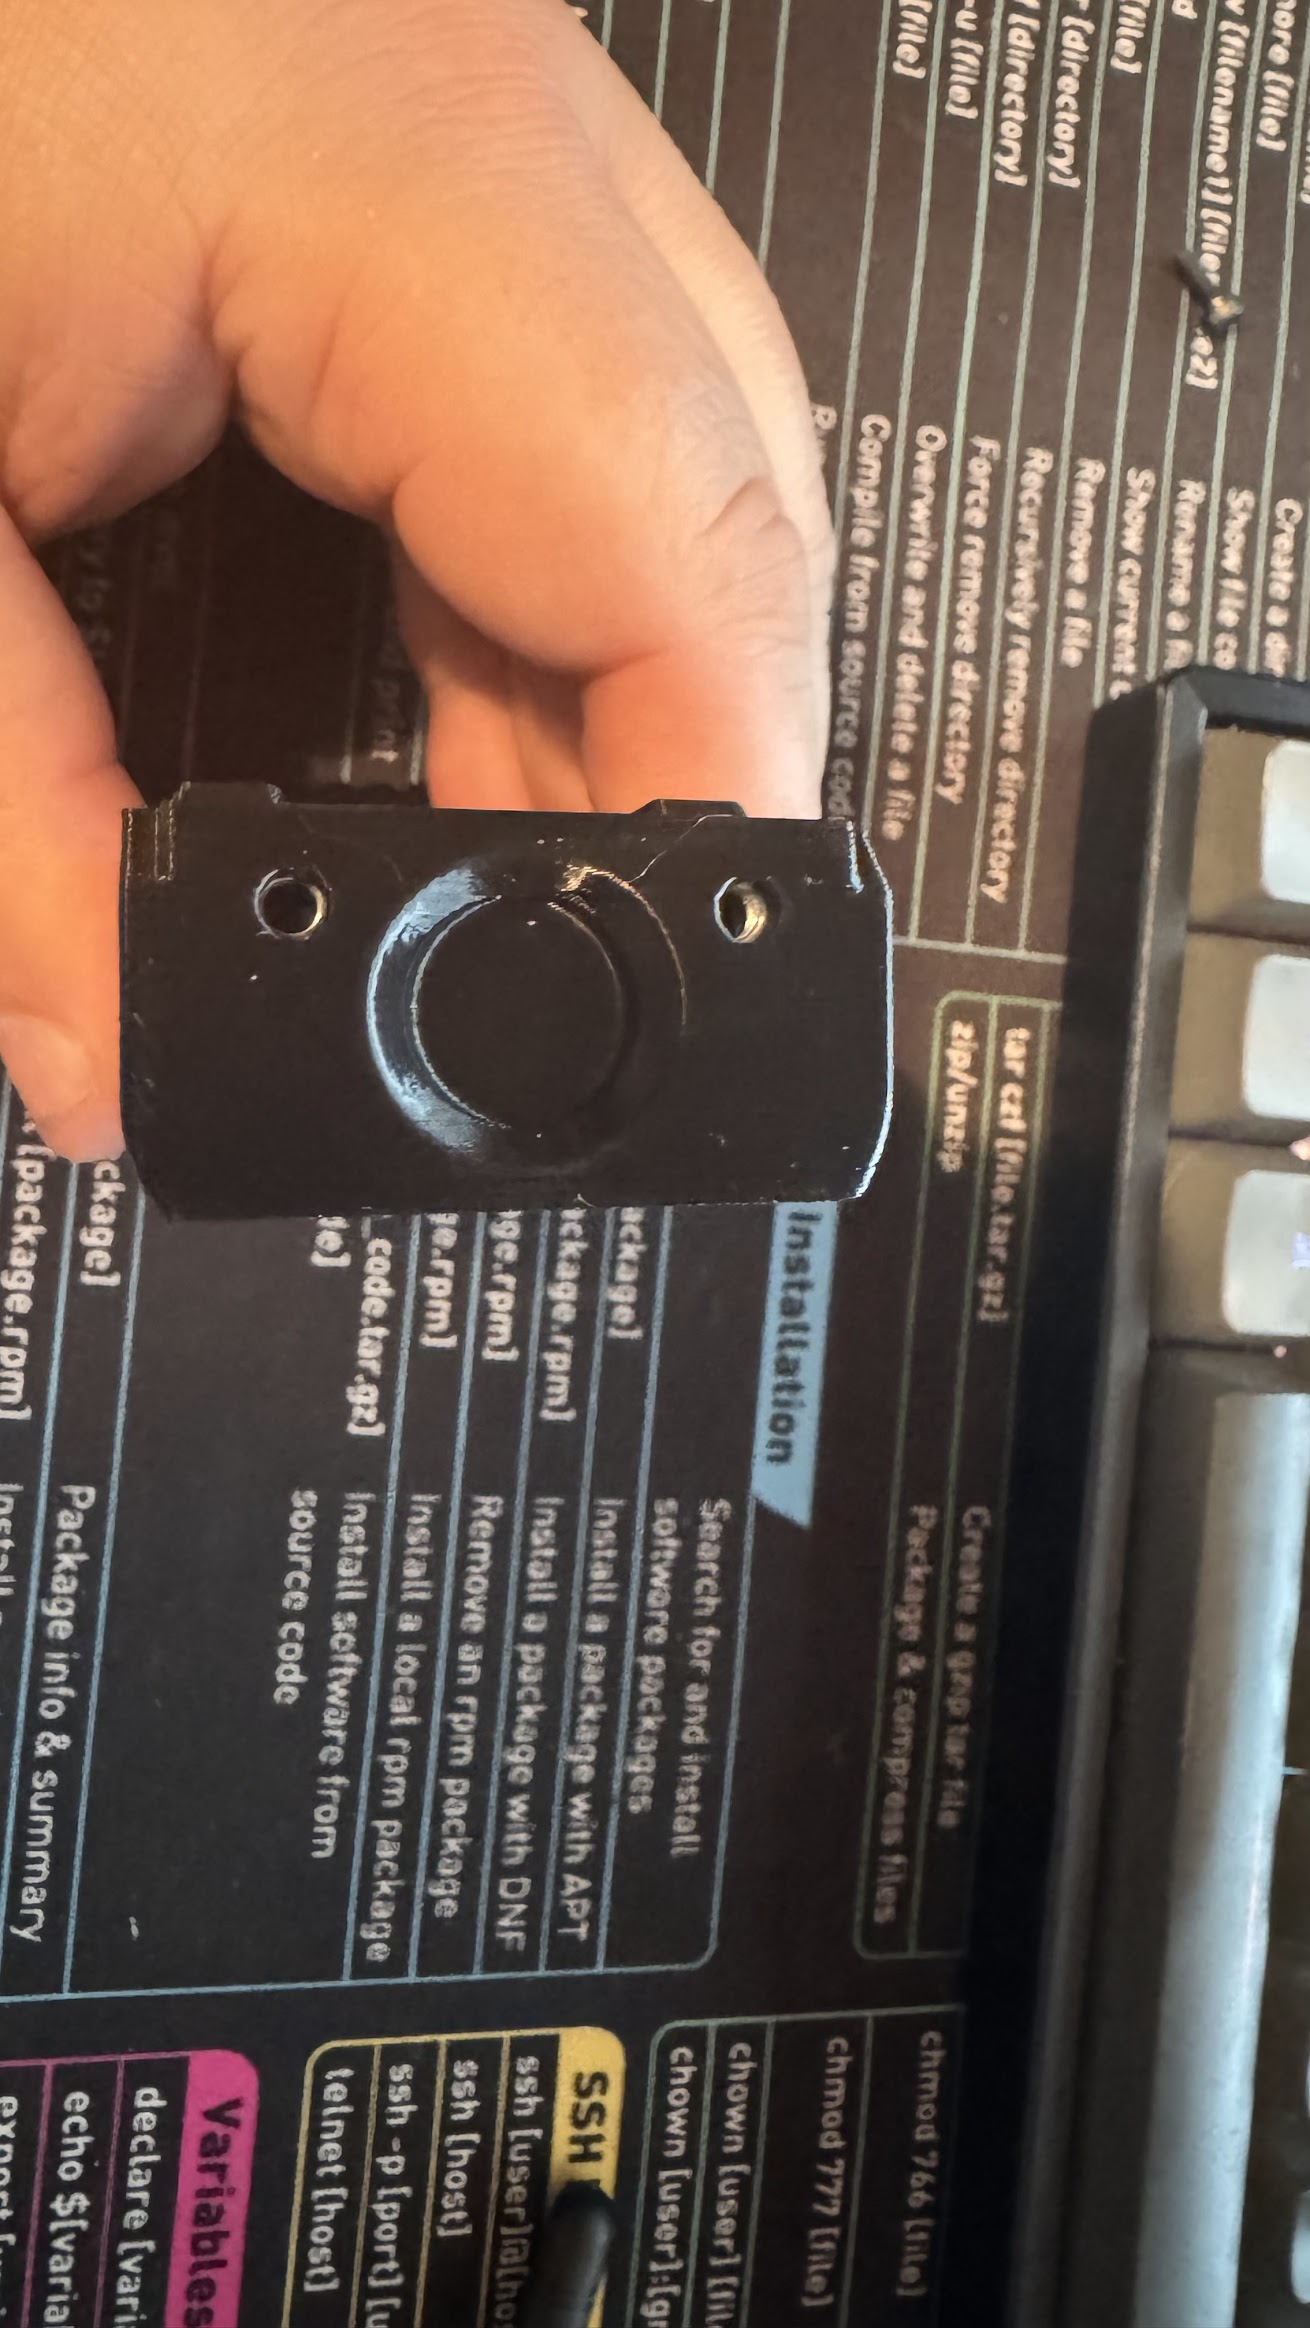
I opted to not do any of the insert types of the cases so I had to insert the M3 nuts into the bottom of the case before final assembly
| Top View | Inserted |
|---|---|
|
|
Here is what some of the final assembly looks like:
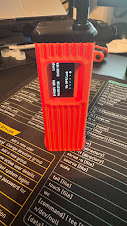

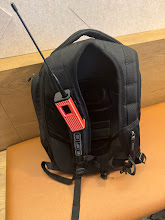
In anticipation of carrying around this node I also printed the bag clip which is working great!
I’ve really enjoyed this case and putting this back together again! It really has been nice to experiment again with this board. The larger battery has been helpful to keep it running throughout a day without having to charge it