Heltec T114 Build
Heltec T114 for Everyday Carry
When I first got started into Meshtatsic I ended up with a few of the Heltec V3s. They were inexpensive and got me out to Vegas in a hurry. I was always annoyed by the battery life and just seemed so sluggish that I started to stray away from them and started going exclusively RAK wireless for base stations, Solar and carry nodes. I was stocking up on my supply Rak Wireless boards and took at chance on the Heltec T114. I had co-workers that were testing them with success so I thought I’d dip my toes. It was based on an NRF processor so it should at least have a good battery consumption.
So here we are with a base install of Meshtastic:

Full transparency, Muzi Works does sell a kit that does the same thing. I had ordered the board before finding the kit or the 3d prints so I opted to just get the battery from them and 3d print the case. They were generous enough to post their STL files on Printables! Hats off to them for that!
Parts List:
I had some of these parts lying around from other builds so feel free to swap out what works for you!
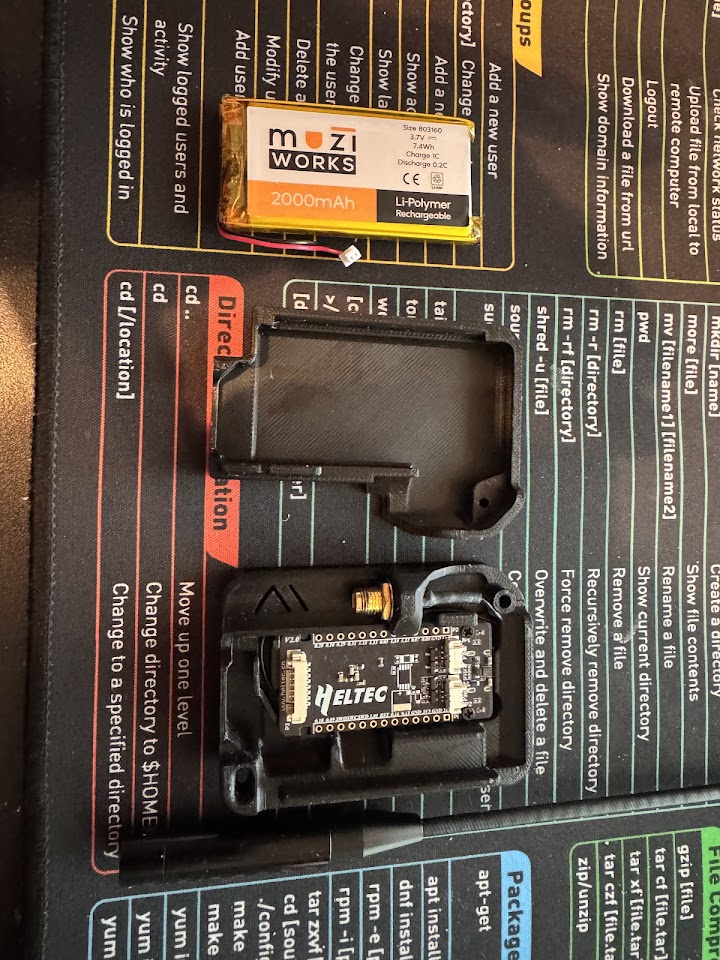
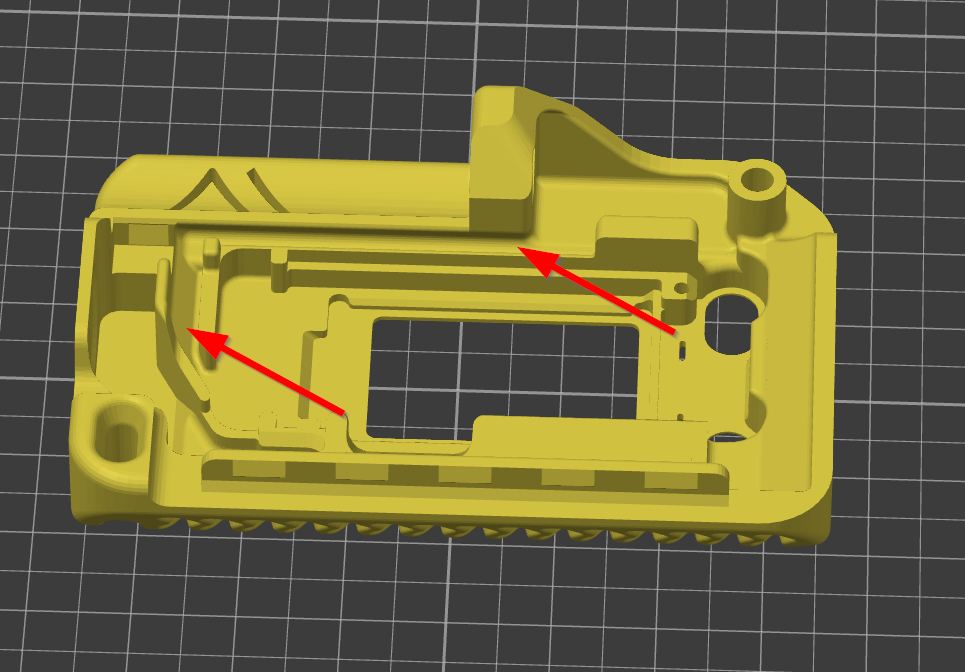
The first step was to install the antenna cable and route it through the channel they’d built. Hats off the Muzi Works guys for thinking about that as with other builds has the cable in the open. Once in there, you can screw down the connector to stay.
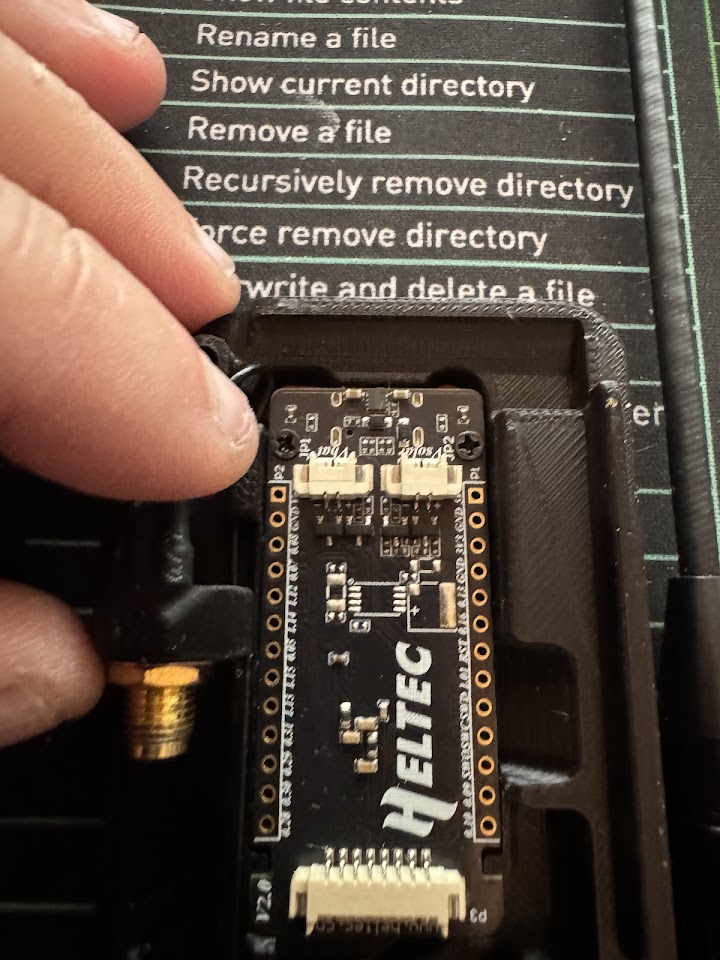
The second step was to remove the two screws that held the plastic shell and screen in place. The screen will be free to move around so be careful not to rip it off or somehow bend it. While the front of the case is face down, put the buttons in, hook up the antenna to the port on the board and put the two little screws in. This took me a few times because while the screen was loose it didn’t work to cooperate the first time times. Be patient and you’ll get it
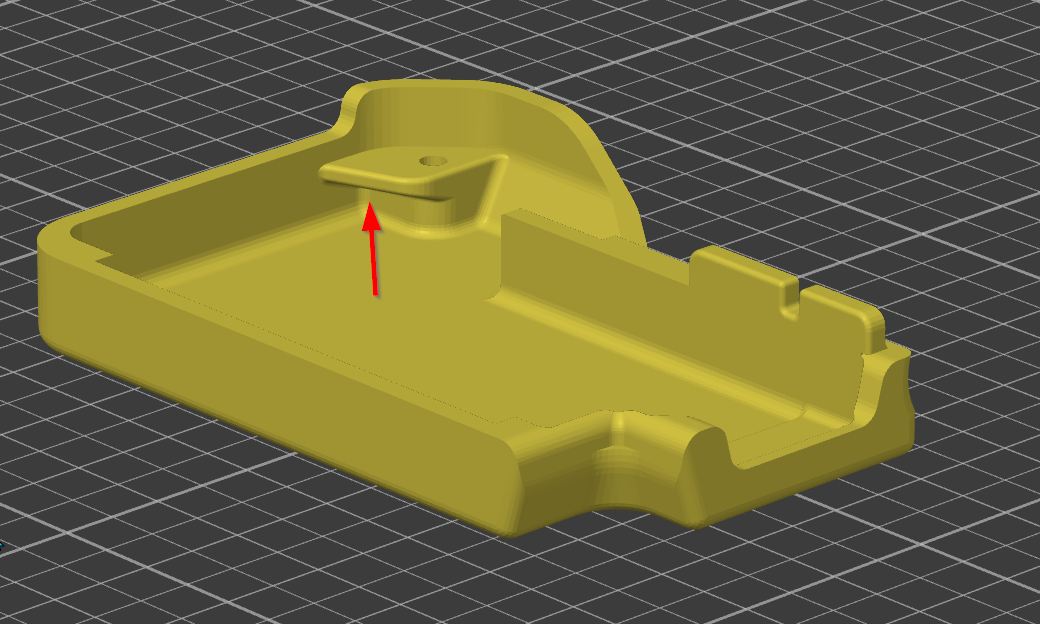
The next step is to put the battery in the tray. Another feature of the case is a nice way of routing the battery cable so it avoids hitting the antenna and other parts of the board when the case is fully assembled.
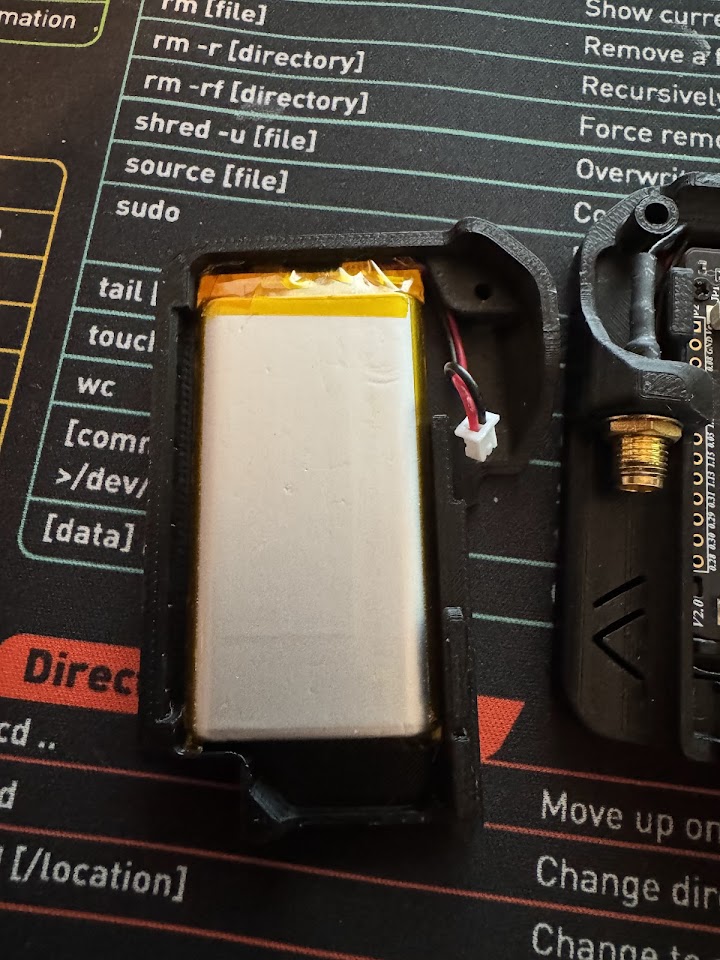
That’s pretty much it. Plug the battery into the battery port (make sure it’s the correct way so you don’t burn out the board) and enjoy.
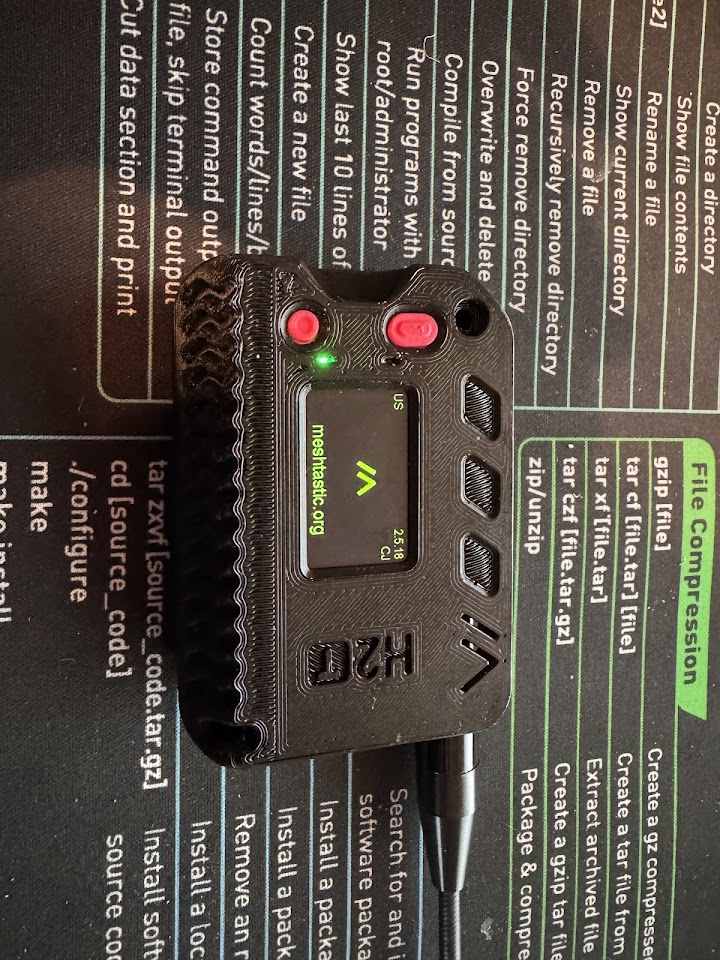
I have to say I’m impressed with the battery life. I opted to not put in the GPS and use the GPS from my phone when I care enough to do it, but this last just as good as my rak carry (which will be another post soon). It is responsive when you hit the buttons, the screen is easy to read and use and overall a good unit. I’ve not messed with other antenna as of yet, but the Amazon one seems to do the trick. As soon as I get my nanovna I might hook it up and find out how close to 915 it is!
Thanks for taking the time to read this. I hope it was helpful!